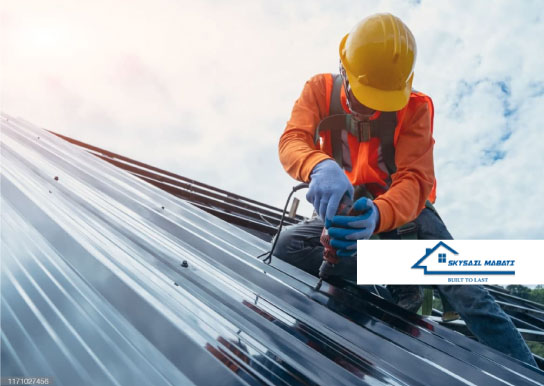
Skysail mabati is well-known for its elegance and durability. They come in a range of textures, styles, and colors, enhancing the beauty of your home. So, if you’re looking to put one in right away, here are some measures to take:
There are essentially two parts involved in metal roof installation.
- Readying the roof
- Installing the roof
Readying the roof
This entails six steps that will eventually aid in the installation of the metal roof.
Step 1
Begin by calculating the roof’s area. To begin, take a measurement from the ground. This will give you a rough estimate of how much metal sheet you’ll need. Climbing slanted roofs is difficult. As a result, don’t take that chance. Measure the slop as well so that the roof’s surface area is accurate.
Step 2
Collect the following materials:
- Drill and drill bits
- Metal roofing screws
- Self-sealing wood screws
- Self drill
- 1.25-inch roofing nails
- Staple gun
- Power metal shear
- Garbage can
Step 3
Maintain a well-organized work environment. Screws and nails should not be kept about the house. Make a box for each of them. Electric drills should not be left on. Also, put a garbage can nearby so you can throw anything away while you’re working.
Step 4
Many types of corrugated metal roofing can be installed over an existing roof, or the old roof can be removed if it is no longer needed. Remove the vents, boots, shingles, and flashing first. Remove all of the stray nails. If the gutters are in the wrong place, move them. On a sunny day, try to remove the old roof.
Step 5
Fix any damages that you see on the roof. Cracks and dents are usually common. Fix them as soon as you see them.
Step 6
Add an insulation layer so that it traps moisture between the sheathing and the metal roof. Secure the roofing felt using a staple gun.
Installing the roof
This involves another four steps.
Step 1
Start by installing the edges. Use the 1.25-inch nails to secure the metal strips on the flashing. This will overlap the edges and won’t allow water to seep inside.
Step 2
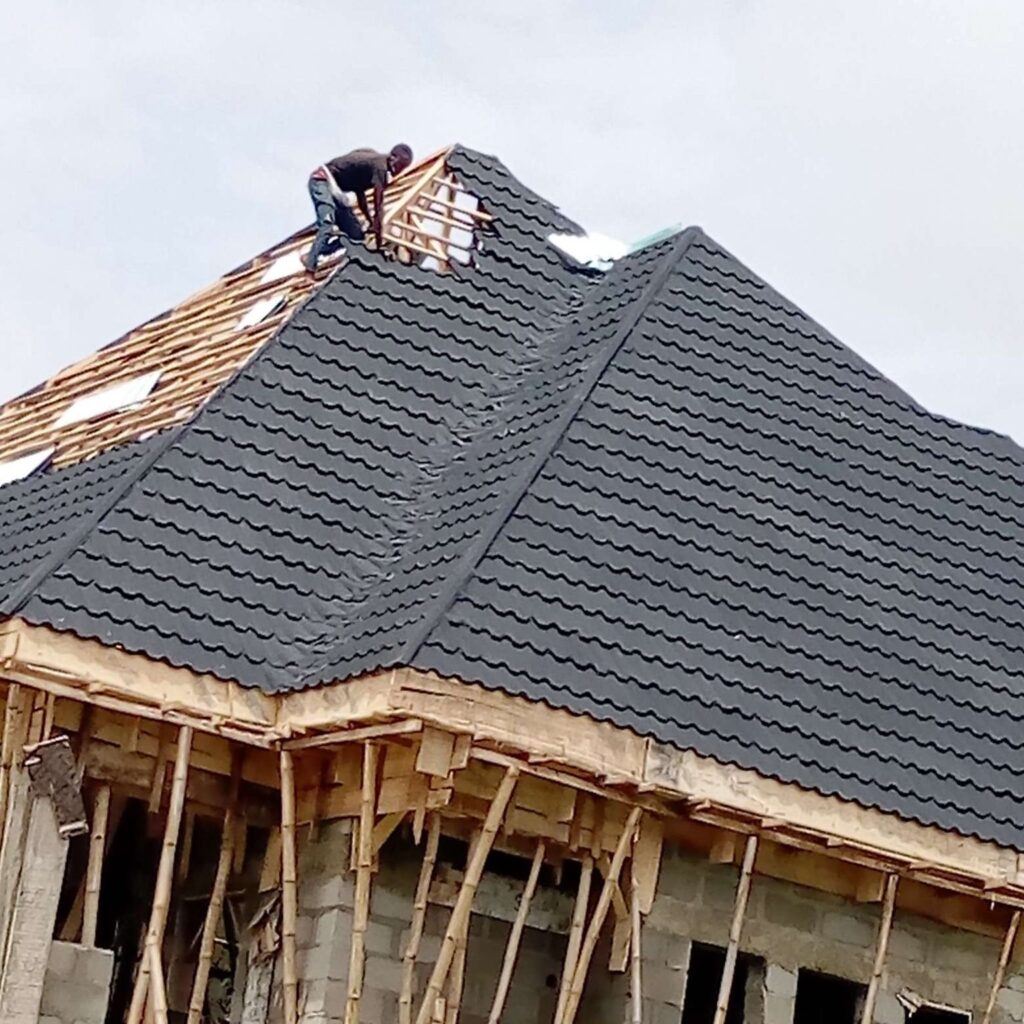
This is the most important step in the process. Take one by one the metal panels and lay them on the roof. Start at the highest point so you don’t have to labor at great heights for an extended period of time. On the edge, the metal roof should dangle at least 0.75 inches.
Step 3
To secure the metal sheets, add metal trimmings on all sides. They appear to be eave flashing. You must, however, position them at the joints. As a result, at least five flashings should link all of the corners and sides.
Step 4
Give the finishing touch by checking all the screws and nails. Collect all the spare nails, metals, and screws from the site and keep them away.
Your new metal roof is ready for use. Since they last for decades, you don’t need to think about replacing it soon.